
Prepared by the SMD Decoration team · Content and references reviewed: 11 October 2026
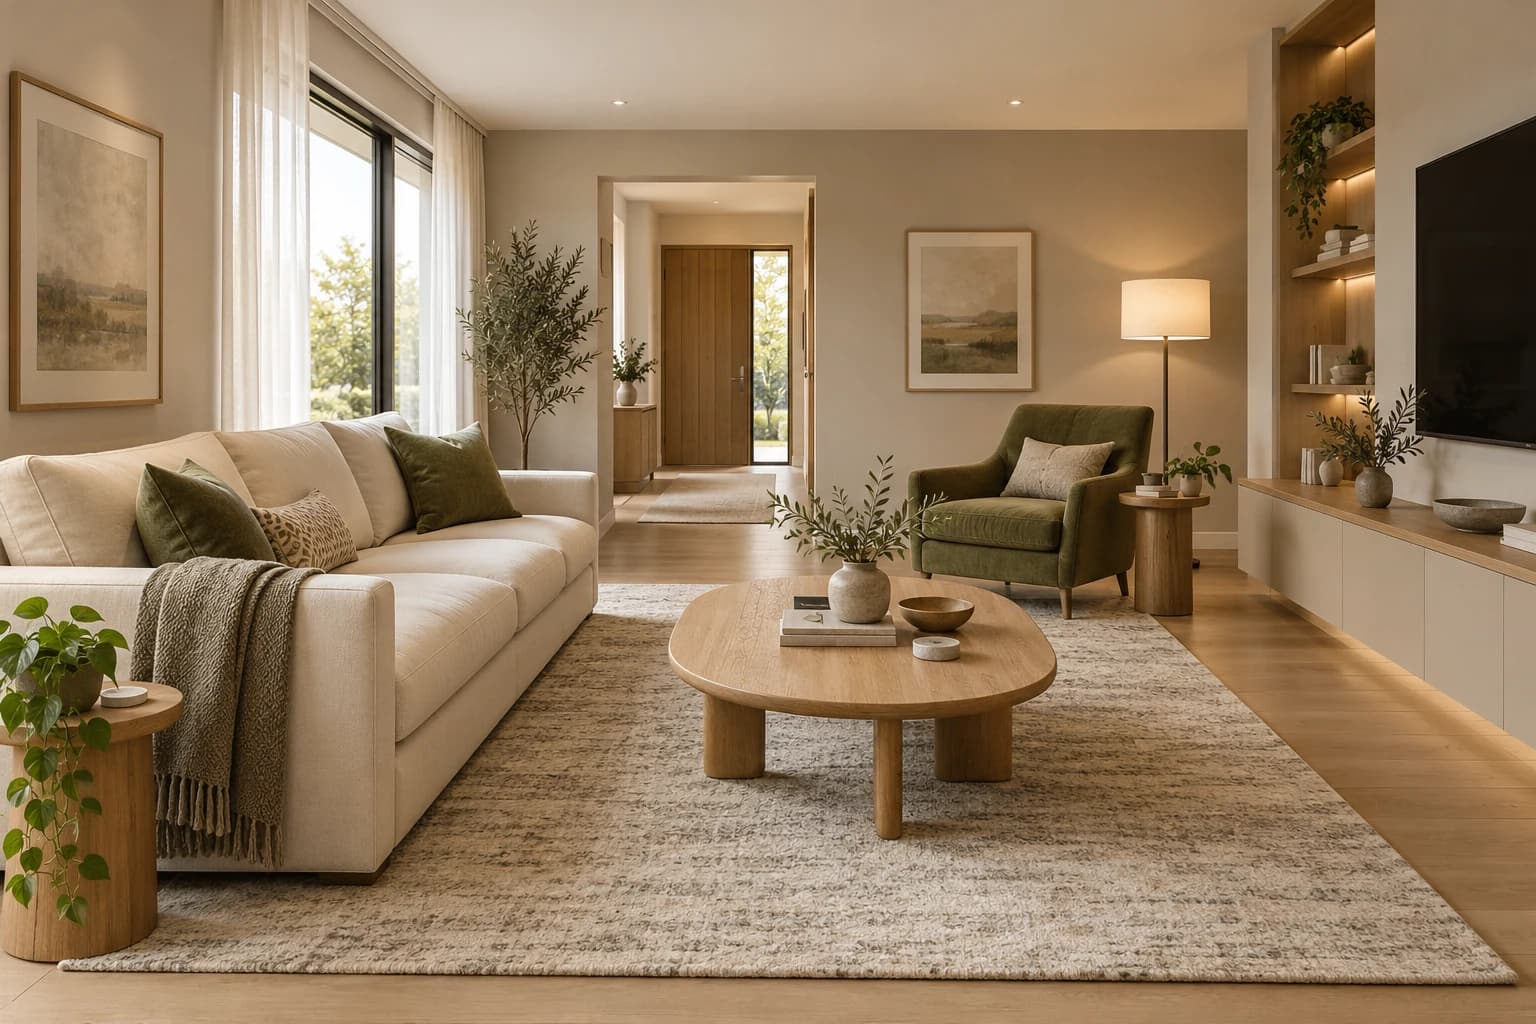
Interior design starts with needs, measurements and a workable layout, followed by budget, materials, colours, lighting and execution details. These ten steps help turn a decorating idea into clear decisions before you buy furniture or begin a fit-out. Consider everyday movement, the purpose of each room, cleaning and maintenance throughout.
Whether you are renovating an apartment or planning a new home, an attractive sofa or a fashionable paint colour is only part of the result. Furniture, finishes and lighting need to work together. The sequence below is a practical SMD recommendation: several steps overlap and should be revisited as the project develops.

Interior design, decorating and fit-out: what changes?
Interior design connects the use of a space with its layout, materials, lighting, details and coordination with the relevant disciplines. Decorating generally concentrates on colours, furniture, accessories and appearance. Fit-out turns the agreed finishes and details into usable space. These activities overlap, so request a written description of the services included in a quotation.
CIDQ includes space planning, material selection, documentation and coordination within the profession’s scope. This does not mean every small refresh needs identical services, or that a three-dimensional image contains enough information to build. The changes proposed and local requirements determine the necessary specialists, drawings and approvals.
1. Define each room’s purpose and its users’ needs
List who uses the room and what happens there: hosting, viewing, reading, work, play or storage. Record how many people use it at once, which furniture you will keep, and what is inconvenient about the current arrangement. A living room used for both entertaining and work may benefit more from a defined reading corner than extra chairs.
Sort requests into essential, desirable and deferrable items. Include children’s needs, older occupants and any requirements affecting movement or use. Discuss these with the designer before selecting a style. Output: a brief room-by-room needs list that gives the project a practical purpose.
2. Measure and inspect the existing space
Record wall lengths, room height, openings, columns, fixed features and visible services. Include door swings, window heights and changes in floor level. Photograph each wall and label the images to match the plan, making details easy to retrieve during review.
For renovation, inspect surfaces before covering them. Peeling coatings, damp patches, cracks or damage may need diagnosis. Do not move a socket or remove a wall from a photograph alone: changes involving structure, electrical work or plumbing require the appropriate discipline and site-specific requirements. Output: an existing-condition plan and an open-issues record.

3. Test furniture positions before ordering
Draw real furniture footprints, including storage depth, projecting handles, opening drawers and chairs in use. Compare several arrangements and check access from the entrance to seating, the window and storage. Avoid adopting one clearance dimension for every home; users, activities and applicable requirements differ.
In a small room, first review the number and size of necessary pieces. An oversized table or deep cabinet may restrict use even with pale walls. Check the delivery route, lift and door openings before ordering a large item. Output: a selected layout with dimensions that can be reviewed.
4. Agree budget, scope and procurement timing
Separate design fees from preparation, finishes, services, furniture and installation. Identify what stays, what changes, who supplies each item, and whether delivery, protection and waste removal are included. Compare the same scope across quotations; “complete fit-out” alone does not define quantities or product quality.
Identify long-lead items, final measurement dates for custom work and dependencies between flooring, doors and joinery. Set a change allowance using the information available and the project’s risks; a fixed percentage cannot resolve every renovation uncertainty. Output: an itemised budget and a decision and procurement schedule.
5. Build a coherent style and material palette
Choose a small set of references, then identify what they share: restrained lines, warm timber, strong contrast or classic detailing. Select features that serve your needs rather than copying a room with different dimensions or cost constraints. During renovation, start with fixed finishes and valued pieces that will remain.
Bring floor, paint, fabric, timber and metal samples together. Coordination does not require every surface to match exactly. A distinct texture or a darker accent can add depth without clutter. Output: a reference board and a shortlist identifying where each material will be used.

6. Approve colours using samples in the room
Choose a main colour, supporting shades and accents according to the area of surfaces and the furniture. Limiting a palette to three colours can be useful, but is not a rule for every room. Start with large elements, refine the smaller details and use a colour wheel to understand relationships between shades.
Sherwin-Williams explains that light and paint sheen affect colour appearance. View a sample during the day and evening, and record the product, colour code, sheen and sample reference. A phone photograph supports discussion; it does not provide final colour approval. Output: a specific colour and sample schedule agreed before procurement.
7. Coordinate lighting, curtains and services with the layout
Consider general illumination for movement, task lighting for reading or work, and lighting that highlights a selected feature. Check shadows, glare and reflections on the television, then review switches, controls and sockets against the furniture arrangement. Styling alone cannot determine the number of luminaires or an electrical circuit’s capacity.
Coordinate curtains with window operation, air-conditioning and cleaning access. For a suspended ceiling or concealed lighting, review levels, services, support and maintenance openings before closure. Output: coordinated lighting, services and curtain information reviewed by the responsible disciplines.

8. Select finishes for use and maintenance
Ask for the complete product and its suitability for the substrate, rather than a material name alone. For paint, identify preparation, primer, finish coat and sheen. For flooring, review installation, joints, levels and transitions. Tile size or timber direction is a layout and installation decision; large tiles do not automatically make every room feel larger.
Compare product-specific cleaning, repair and maintenance information and approve a sample before treating large areas. Products in wet areas or near heat need a suitability review for their intended use. Output: a finish schedule connecting each surface with its product, sample and agreed installation method.
9. Document the details and resolve coordination issues
Develop drawings suited to the scope: furniture plans, joinery elevations, lighting and service locations, and details for transitions or special features. A presentation image still needs decisions about dimensions, fixing, door operation and maintenance access. Record drawing numbers and revisions so the team uses current information.
Review conflicts between joinery, sockets, air-conditioning, curtains, doors and flooring. When information is missing, record a clarification request with an owner and response date instead of improvising during installation. Output: an identified drawing and material package with clear responsibilities.
10. Inspect execution and handover before final styling
Review work while correction remains possible: surface preparation, services before enclosure, material installation and final details. Connect inspections to drawings, samples and the agreed scope. At handover, test doors, drawers and switches, review protection and cleaning, and record visible defects with the person responsible for resolving them.
Keep paint codes, samples, product information, maintenance instructions and agreed warranties. Add artwork, plants and textiles once the main elements are settled, leaving room for personal taste. Output: a closed handover list and retrievable information for future maintenance.
What should a design and fit-out quotation explain?
| Item | What to clarify | Decision evidence |
|---|---|---|
| Design | Rooms, services, drawings and included revisions | Written scope and deliverables |
| Materials | Products, colours, sheen, quantities and alternatives | Material schedule and samples |
| Execution | Preparation, supply, installation, protection and exclusions | Comparable itemised quotation |
| Timing | Decision, procurement, coordination and execution dates | Agreed schedule |
| Handover | Checks, repairs, maintenance and agreed warranties | Inspection list and handover records |
A simple example of turning a plan into quantities
For a hypothetical 5 × 4 m room with a height of 2.8 m, floor area is 20 m² and gross wall area is 2 × (5 + 4) × 2.8 = 50.4 m². Assuming 5 m² of openings gives 45.4 m² of net wall area. This is an arithmetic example: actual quantities depend on site dimensions and the agreed measurement method. Identify ceiling, floor, primer and coating layers separately.
Common mistakes that delay an interior project
- Ordering oversized furniture before approving the layout and delivery route.
- Comparing prices without matching products, quantities and exclusions.
- Choosing paint from a screen before reviewing flooring and lighting.
- Closing a ceiling or joinery before coordinating services and maintenance.
- Changing a material without reviewing cost and programme implications.
- Relying on attractive pictures without dimensions or construction details.
Related guides for more specific decisions
- Colour wheel, warm and cool interior colour schemes
- Modern wall paint ideas and surface preparation
- Drawings, design tools and execution information
The ten steps are a practical SMD sequence. RIBA organises a building project into eight stages; its framework is not presented here as these ten steps or as local requirements.
References and their scope
Start your dream project today with SMD Decoration
Your space, your vision. SMD Decoration offers interior design, fit-out and renovation in Turkey and Arab markets: homes, apartments, villas, offices, hotels, restaurants, healthcare, education and exhibitions. Reflect your identity, needs and budget.
Explore finishes, painting, upholstery, custom furniture and lighting in modern, classic, contemporary, industrial or eco-conscious styles. Agree services, execution details and handover before work.
SMD Decoration websites
- Main website: smddecoration.com
- Turkey: smddecoration.net.tr
- Oman, Kuwait & Bahrain: turkiyedecoration.com
- Qatar: smddecoration.qa
- UAE: smddecoration.ae
- Saudi Arabia: smddecoration.sa
- Saudi Arabia — additional site: smddecoration.net
- Libya: smddecoration.info
- Iraq: smddecoration.site
- Syria: smddecoration-syria.com
SMD accepts conventional currencies and bank transfers; Bitcoin and other cryptocurrencies are not accepted.
Bring your vision to life with SMD
Share the city, space type, plan, measurements and current photographs, along with daily needs, furniture to retain, budget and target date. Discuss a considered layout, coordinated materials, colours and lighting with SMD Decoration, with a clear scope for design, coordination, fit-out, execution and handover.
Email: info@smddecoration.com
Project enquiry