
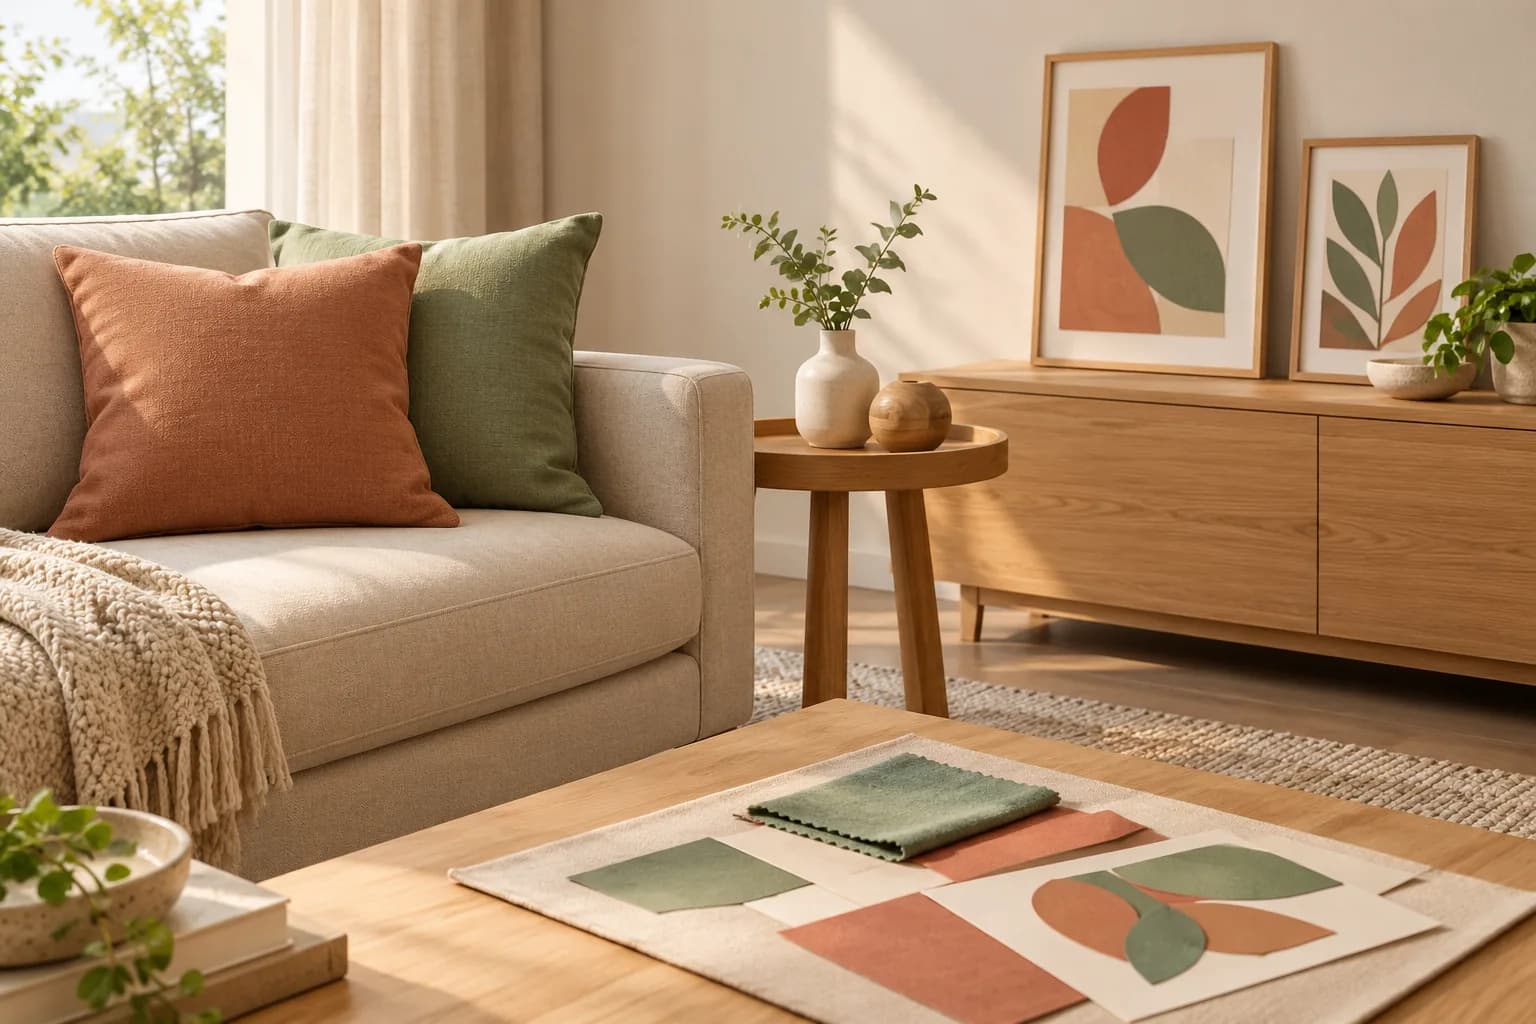
Start DIY home decor with one small piece and a defined location: framed paper art, a cushion-cover update, a covered organiser box or a removable decorative tray liner. Choose a project that fits your tools and time, and trial a sample before buying larger quantities. A polished result comes from proportion, colour, neat edges and suitable use. Handmade and reused do not automatically mean cheaper than ready-made.
Choose one project around what the room needs
Photograph the corner and measure the item or space where the piece will go. Identify whether it needs colour, organisation or personal artwork. Select two or three colours already present in the room and remove crowded accessories before adding more. Unrelated leftover materials are not a reason to start several projects at once.
Check reused pieces for stability, cleanliness, edges and general condition. Reject cracked glass and loose components, and do not turn an item of unknown capacity into a shelf or seat. Lamp wiring, heavy fixing and specialist repairs require suitable review; these projects focus on light decoration and organisation.

Project 1: paper artwork in the room’s colours
Materials: a suitable display frame, backing paper, coloured paper, appropriate measuring and cutting tools, and a compatible adhesive. Use your own artwork or material you have permission to use.
- Measure the frame backing and visible opening, then prepare a paper template at that size.
- Arrange simple shapes in two or three colours with empty space around them.
- Photograph the arrangement before gluing and compare it with the room.
- Trial adhesive on a scrap, apply according to its instructions and allow it to set before framing.
- Display in a stable position suitable for the frame’s intended use, then check alignment and edges from the normal viewing distance.
Start with an existing frame instead of buying a full gallery set. If the composition looks crowded, reduce the shapes before replacing every colour.
Project 2: refresh cushions with changeable textiles
Beginners can start with a plain cover that fits an existing insert, coordinating it with a fabric piece or a second cover in a colour from the artwork. To make a cover from scratch, use a pattern suited to its size, material and your skills, including its stated seam and closure allowances. Do not cut fabric to the insert dimensions alone.
Trial the fabric, colour stability and care method on a sample according to supplier instructions. Make one piece and check seams or attachments, closure and removal for cleaning before repeating it. Choose texture for actual use rather than treating “natural” as a promise that it suits every skin or wash cycle.
Project 3: a paper- or fabric-covered organiser
Choose a clean, dry, sound box for stationery or lightweight accessories. Measure sides and base, and trial a temporary paper cover to establish folds before cutting the final material. Test adhesive compatibility with the box and covering, attach the sides in sequence and finish the internal edges with a neat lining.
Allow clearance for a lid and retain a clear purpose for the box. Check corners, wrinkles and bonding after the product’s specified period. Covering does not convert packaging into a food container, electrical enclosure or a box proven to support heavy loads.
Project 4: a removable decorative tray liner
Use a stable, undamaged tray and measure its internal base. Make a paper template first, then a neatly edged fabric liner that can be removed for care. Arrange two or three coordinated accessories, varying heights without blocking sightlines or overhanging the tray.
Check stability during use and cleaning, leaving room to lift the tray. Do not expose an untested liner to heat, flame or food contact. The project groups lightweight decoration rather than changing the product’s purpose or capacity.
For wall hanging, read the specific product instructions
3M’s Command guidance selects products by surface and item weight, with different load limits. Do not assume extra strips increase capacity or transfer instructions to another adhesive.
Check the actual pack for surface suitability, preparation, waiting, application and removal. Choose a suitable alternative where its conditions are not met. In a rented home, review agreed modification limits. Both standing and hanging frames need an appropriate position and support for their use.
Compare the complete DIY cost with ready-made options
List consumed materials, newly purchased tools, delivery and trials, then consider your time and possible rework. A hypothetical calculation: materials 40 + new tools 30 + delivery 10 = 80 currency units. These are teaching figures rather than market prices; adjust them to what you own and will purchase.
Compare with a ready-made piece of similar size, material and care needs. DIY may suit personalisation or enjoyment, while a ready-made or professionally made item may suit larger quantities or fine details. An existing material is not cost-free if using it requires replacing something you still need.
Check the piece in its location before making more
- Does it fit without obstructing movement or use?
- Do colour and texture work in daylight and evening light?
- Are edges neat and components stable for their purpose?
- Can the cover or liner be removed and cleaned as planned?
- Have you recorded materials, dimensions and changes for the next version?
Photograph from a normal viewing distance, then improve one detail instead of adding more decoration. If the project expands into fitted furniture, lighting or finishes, redefine scope and budget with an appropriate specialist.
Editorial review: 17 October 2026. The 3M reference concerns its own product selection and instructions; projects, checks and the cost example are proposed SMD practices.
Coordinate Your Home Project with SMD Decoration
Share room photographs and measurements, the pieces you want to retain, colours and budget. We can discuss decor, materials, furniture and refurbishment, identifying work that suits DIY and work needing specialist design or execution. Discuss your home update.
+90 553 904 12 12
Discuss your project on WhatsApp+966 50 498 6649
Discuss your project on WhatsAppEmail: info@smddecoration.com
SMD websites: Main website · Türkiye · Oman, Kuwait and Bahrain · Qatar · United Arab Emirates · Saudi Arabia · Additional Saudi website · Libya · Iraq · Syria.